Classwork: For classes 28-30
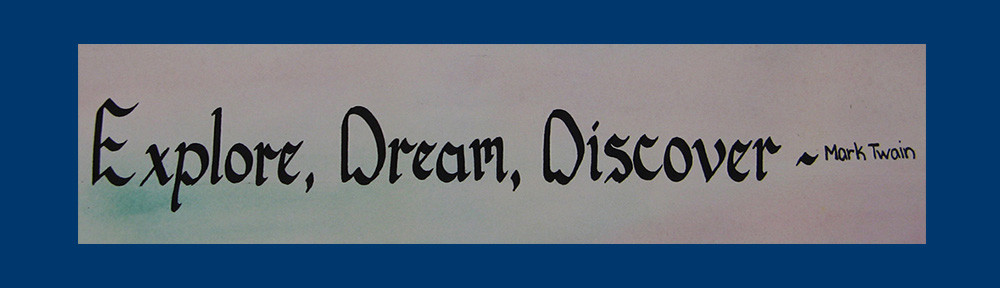
We will be working on our final project, which will be a name design. You will be writing your full first, middle, and last name in the Gothic hand.
Step one: begin writing your name on lined paper, you will be using a 5mm pen, so each name should be on its own line. Keep in mind:
- Keep your letters evenly spaced
- Keep your pen strokes uniform
- keep your letters the same height
Step two: cut out each line of your name, and tape them to a piece of paper. Make sure that it’s straight.
Step three: using the light box, trace your name onto a piece of calligraphy paper, which will be a 6″x24″ surface. Make sure there is an even amount between the names.
Step four: Choose a design, or picture to draw (free hand) to embellish the boarder around your name. Outline in a thin sharpie marker, and color in using colored pencils.
If you are interested in seeing how I will be grading this project please click the link below. You can check back through out the art making process to make sure you are on task: Calligraphy Rubric
Student Example:
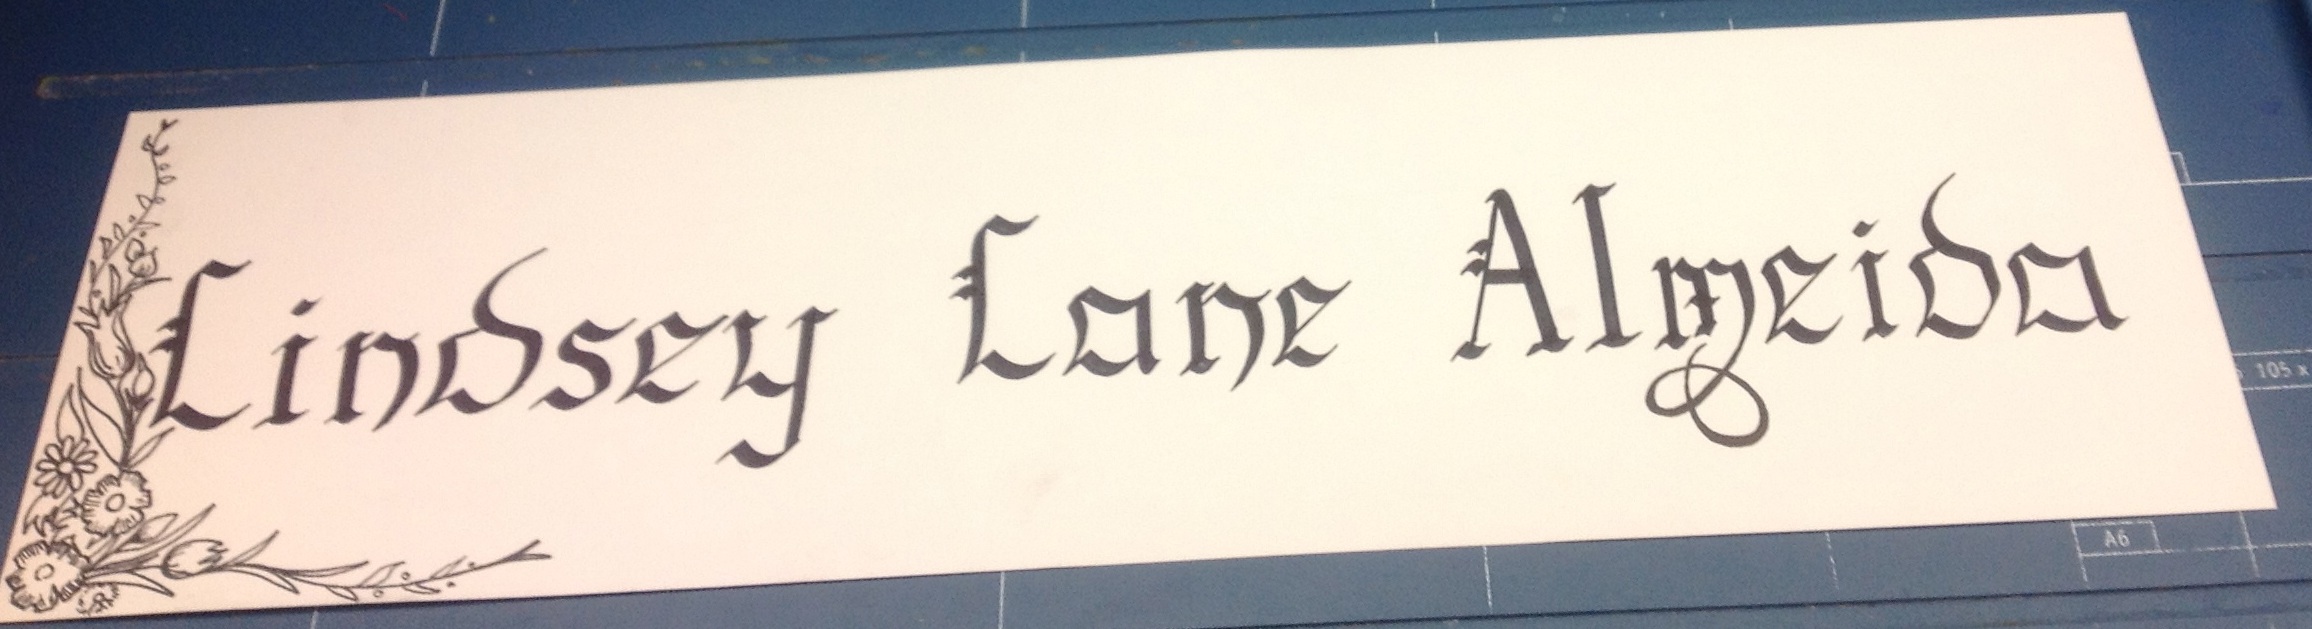
Designed by Lindsey Almeida
LStark@Ramapo.edu
Last Update: 04/21/2015
MSET: This project contains academic projects meant for student learning. This site is not for profit and does not imply endorsement by any company or educational institution.